In a previous post, I explained how one could utilize the AWS Codepipeline, CodeBuild and CodeDeploy to run a blue/green deployment of a service running on ECS. This article aims to present a similar approach for EC2 instances. Deployment for EC2 instances can be performed either in-place where the currently running instances are replaced with the updated applications or blue/green where we have two sets of instances running and the traffic gets re-routed to the new instance set after update is completed. The latter involves the use of Auto-Scaling groups and load balancers. For brevity, this article is an introduction to continuou deployment for EC2 instances using the CodeDeploy agent.
For continous deployment for EC2, we need the following basic resources:
- CodeCommit or source control for the
Sourcestage in CodePipeline - CodeDeploy for CD for the
Deploystage in CodePipeline - S3 bucket for deployment artifacts
- IAM roles for both the CodePipeline and CodeDeploy agent
- CodeDeploy agent running on EC2 instance
Setting up the source
This example uses the CodeDeploy Wordpress tutorial to deploy a WordPress website running on a LAMP stack. The example has been tweaked for this article to allow it to work on the current Amazon Linux AMI. A github repo is created with the appspec.yml file together with the article scripts. A current copy of Wordpress is also clone into the repo in order to test changes in the deployment pipeline.
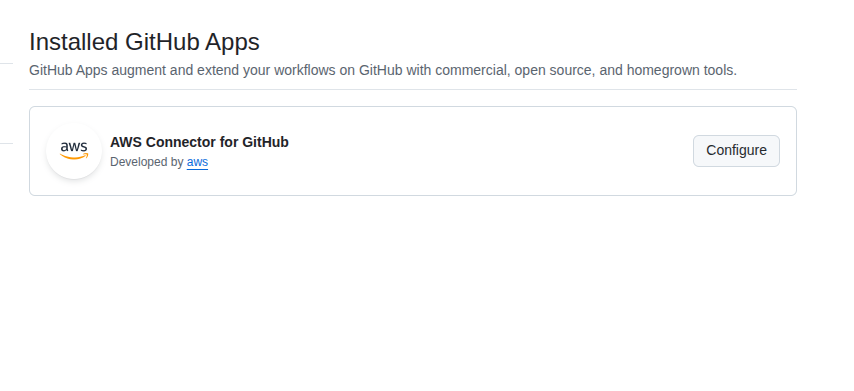
The github repo is linked via the CodeConnections under Developer Tools > Settings and created manually. This would show up as an Installed Github app under the Integrations > Github apps settings for the repo.
Setting up CodeDeploy
The appspec.yml file is a configuration specification for CodeDeploy and it has the following format:
version: 0.0
os: linux
files:
  - source: WordPress
    destination: /var/www/html/WordPress
  - source: scripts
    destination: scripts
hooks:
  AfterInstall:
    - location: scripts/install_dependencies.sh
      timeout: 300
      runas: root
    - location: scripts/change_permissions.sh
      timeout: 300
      runas: root
  ApplicationStart:
    - location: scripts/start_server.sh
    - location: scripts/create_test_db.sh
      timeout: 300
      runas: root
  ApplicationStop:
    - location: scripts/stop_server.sh
      timeout: 300
      runas: root
During a deployment, the CodePipeline will pass the source code from the Source stage to the Deploy stage as a zip archive. This archive will be pulled from the S3 bucket associated as the artifacts source with the pipeline by the CodeDeploy agent. The archive will be extracted into the working directory of the CodeDeploy agent on the EC2 Instance. The files will be relative to the agent’s current working directory. The files section above indicate that the WordPress source is to be extracted to /var/www/html which is the absolute path for apache server. The scripts are extracted to the agent’s current working directory.
The scripts are CodeDeploy EC2 Hooks which are run at different stages of the deployment process. The following hooks are used in this example:
-
AfterInstall Runs after the source files are copied into the destination folders. In our example, we install the LAMP stack components
-
ApplicationStart Used to start or restart the application. In our example, we start the LAMP stack such as the server and database
-
ApplicationStop Stop applications before an application revision is to be performed. In our example, we stop the LAMP stack. This will be restarted via ApplicationStart hook once update completed.
Setting up CodeDeploy
We setup a CodeDeploy application and its Deployment Group. The deployment group requires an IAM service role that has the following trust relationship:
{
    "Version": "2012-10-17",
    "Statement": [
        {
            "Sid": "",
            "Effect": "Allow",
            "Principal": {
                "Service": "codedeploy.amazonaws.com"
            },
            "Action": "sts:AssumeRole"
        }
    ]
}
We attach the policy of AWSCodeDeployRole to it which grants permissions for EC2 deployments.
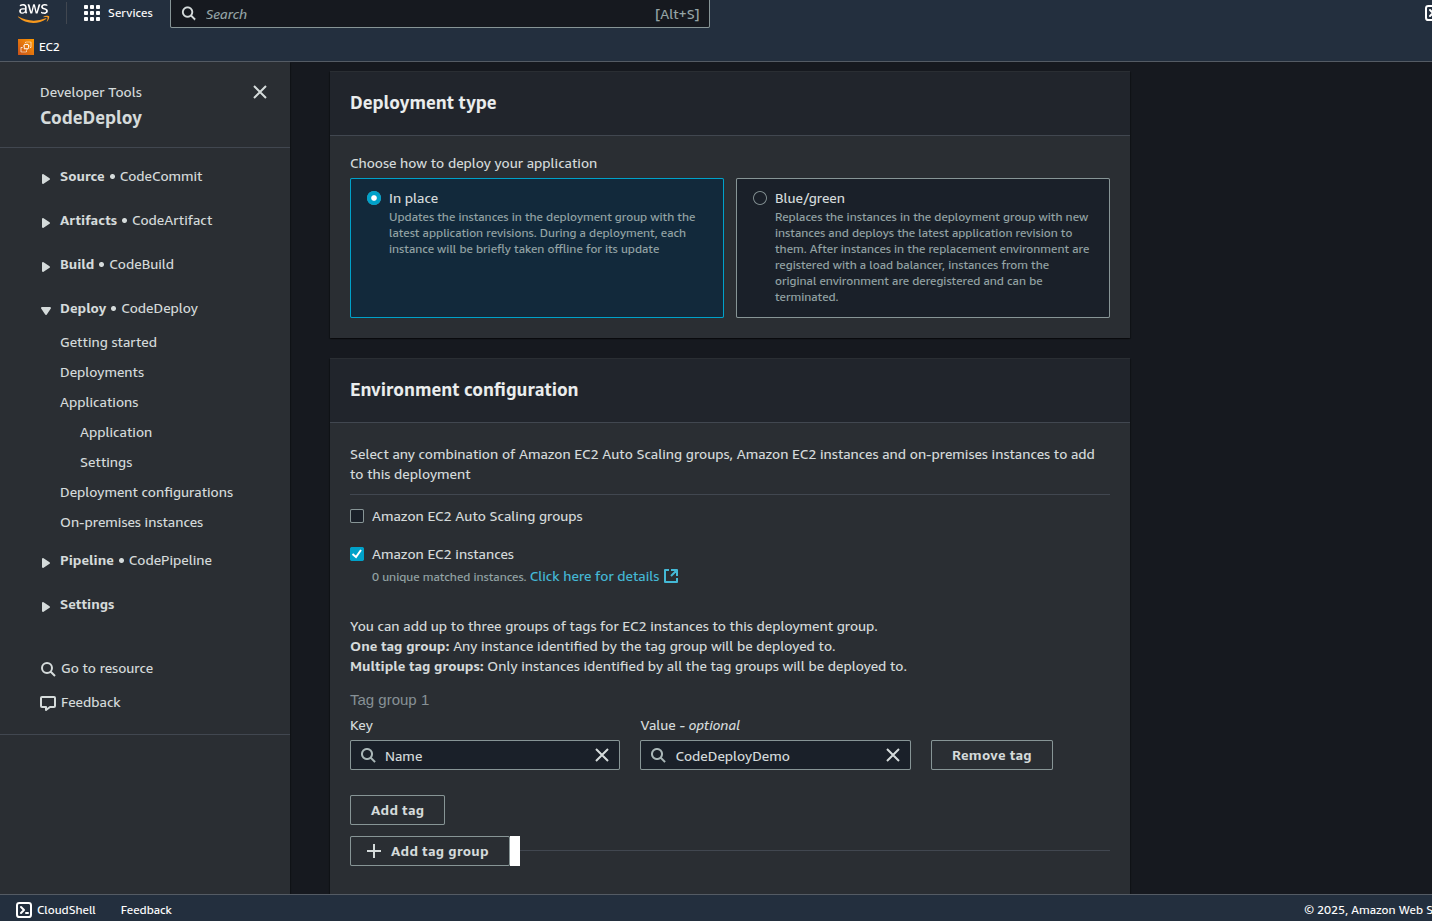
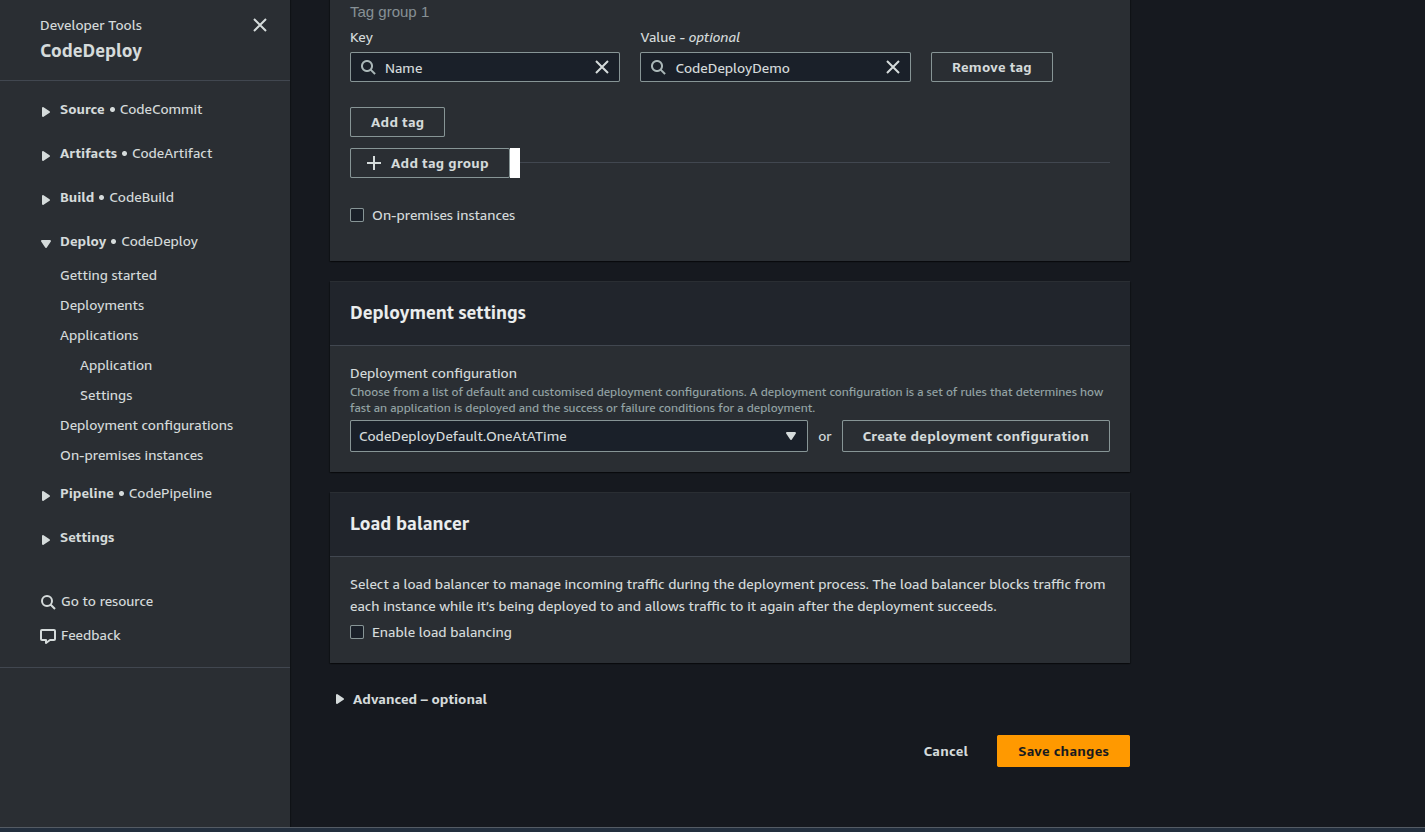
Under Deployment Type we select in place and under Environment Configuration we select EC2 instances with a tag of Name: CodeDeployDemo. Instances without this tag will not be selected for deployment. For deployment configuration, we select CodeDeploy.Default.OneAtATime. This means that any application revision is deployed to the EC2 Instances one at a time. The other configurations are:
-
CodeDeploy.Default.AllAtOnce Deploys the application revision to all instances immediately
-
CodeDeploy.Default.HalfAtATime Deploys the application revision to half of the instances at a time.
Setting up CodePipeline
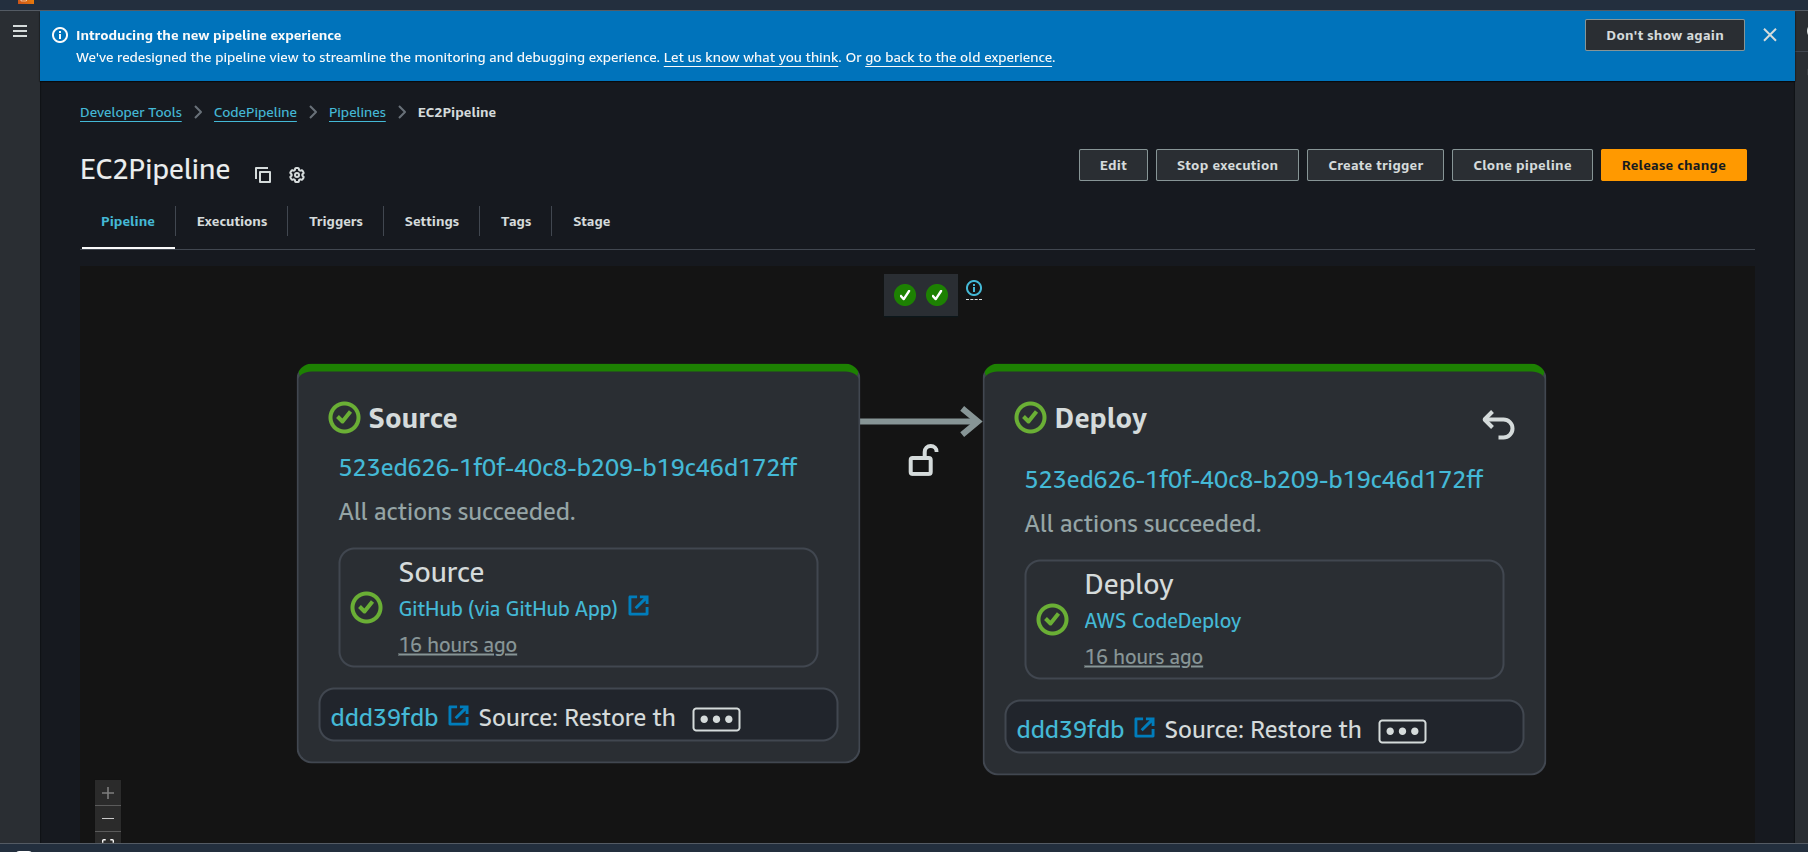
The pipline is created of type V2 and execution mode set to QUEUED. This mode allows the stages in the pipeline to run sequentially. The CodePipeline consists of 2 stages:
- Source
- Deploy
The source stage links to the Github repo via CodeConnection as a source which we setup earlier. The dpeloy stage references the CodeDeploy application and deployment group which we setup earlier. The IAM role for the pipeline would need permissions to access the artifact s3 bucket, the code deploy application and the codeconnection object:
{
    "Version": "2012-10-17",
    "Statement": [
        {
            "Action": [
                "s3:GetBucketVersioning",
                "s3:GetBucketLocation",
                "s3:GetBucketAcl"
            ],
            "Condition": {
                "StringEquals": {
                    "aws:ResourceAccount": "XXXX"
                }
            },
            "Effect": "Allow",
            "Resource": "arn:aws:s3:::codepipeline-eu-west-2-pzddz2",
            "Sid": "AllowS3BucketAccess"
        },
        {
            "Action": [
                "s3:PutObjectTagging",
                "s3:PutObjectAcl",
                "s3:PutObject",
                "s3:GetObjectVersionTagging",
                "s3:GetObjectVersion",
                "s3:GetObjectTagging",
                "s3:GetObject"
            ],
            "Condition": {
                "StringEquals": {
                    "aws:ResourceAccount": "XXXX"
                }
            },
            "Effect": "Allow",
            "Resource": "arn:aws:s3:::codepipeline-eu-west-2-pzddz2/*",
            "Sid": "AllowS3ObjectAccess"
        }
    ]
}
{
"Version": "2012-10-17",
"Statement": [
{
"Action": "codestar-connections:UseConnection",
"Effect": "Allow",
"Resource": "arn:aws:codeconnections:eu-west-2:XXXX:connection/XXXX"
}
]
}Note that for the CodeDeploy policy we need to have codedeploy::GetApplicationRevision permission else CodePipeline will fail with a permissions error:
{
    "Version": "2012-10-17",
    "Statement": [
        {
            "Action": [
                "codedeploy:RegisterApplicationRevision",
                "codedeploy:ListDeployments",
                "codedeploy:ListDeploymentGroups",
                "codedeploy:GetDeploymentGroup",
                "codedeploy:GetDeployment",
                "codedeploy:GetApplicationRevision",
                "codedeploy:GetApplication",
                "codedeploy:CreateDeployment"
            ],
            "Effect": "Allow",
            "Resource": [
                "arn:aws:codedeploy:eu-west-2:XXXX:deploymentgroup:EC2Wordpress/EC2WordpressDG",
                "arn:aws:codedeploy:eu-west-2:XXXX:application:EC2Wordpress"
            ]
        },
        {
            "Action": "codedeploy:GetDeploymentConfig",
            "Effect": "Allow",
            "Resource": [
                "arn:aws:codedeploy:*:XXXX:deploymentconfig:CodeDeployDefault.OneAtATime",
                "arn:aws:codedeploy:*:XXXX:deploymentconfig:CodeDeployDefault.AllAtOnce"
            ]
        },
        {
            "Action": "codedeploy:ListDeploymentConfigs",
            "Effect": "Allow",
            "Resource": "*"
        },
        {
            "Action": [
                "logs:PutLogEvents",
                "logs:CreateLogStream",
                "logs:CreateLogGroup"
            ],
            "Effect": "Allow",
            "Resource": "arn:aws:logs:eu-west-2:XXXX:log-group:testpipeline:*"
        }
    ]
}
Testing the pipeline
To test the pipeline, we create an EC2 Instance with a tag of Name: CodeDeployDemo deployed into a public subnet on the default vpc. The EC2 Instance role needs to have the AmazonSSMManagedInstanceCore role attached in order to use SSM and a policy to read the CodePipeline s3 artifacts directory. This would allow the CodeDeploy agent to download the source code bundle onto the instance:
{
    "Version": "2012-10-17",
    "Statement": [
        {
            "Action": [
                "s3:List*",
                "s3:GetObject",
                "s3:Get*"
            ],
            "Effect": "Allow",
            "Resource": "arn:aws:s3:::codepipeline-eu-west-2-pzddz2/*"
        }
    ]
}
We need to install the CodeDeploy Agent on the EC2 Instance. This could be a Manual install of CodeDeploy agent on Linux or we can Install CodeDeploy agent using AWS Systems Manager via SSM Distributor to install using RunCommand document with the AWS CodeDeploy config. Once installed, we can use SSM to login to the instance and check its status:
sudo systemctl status codedeploy-agent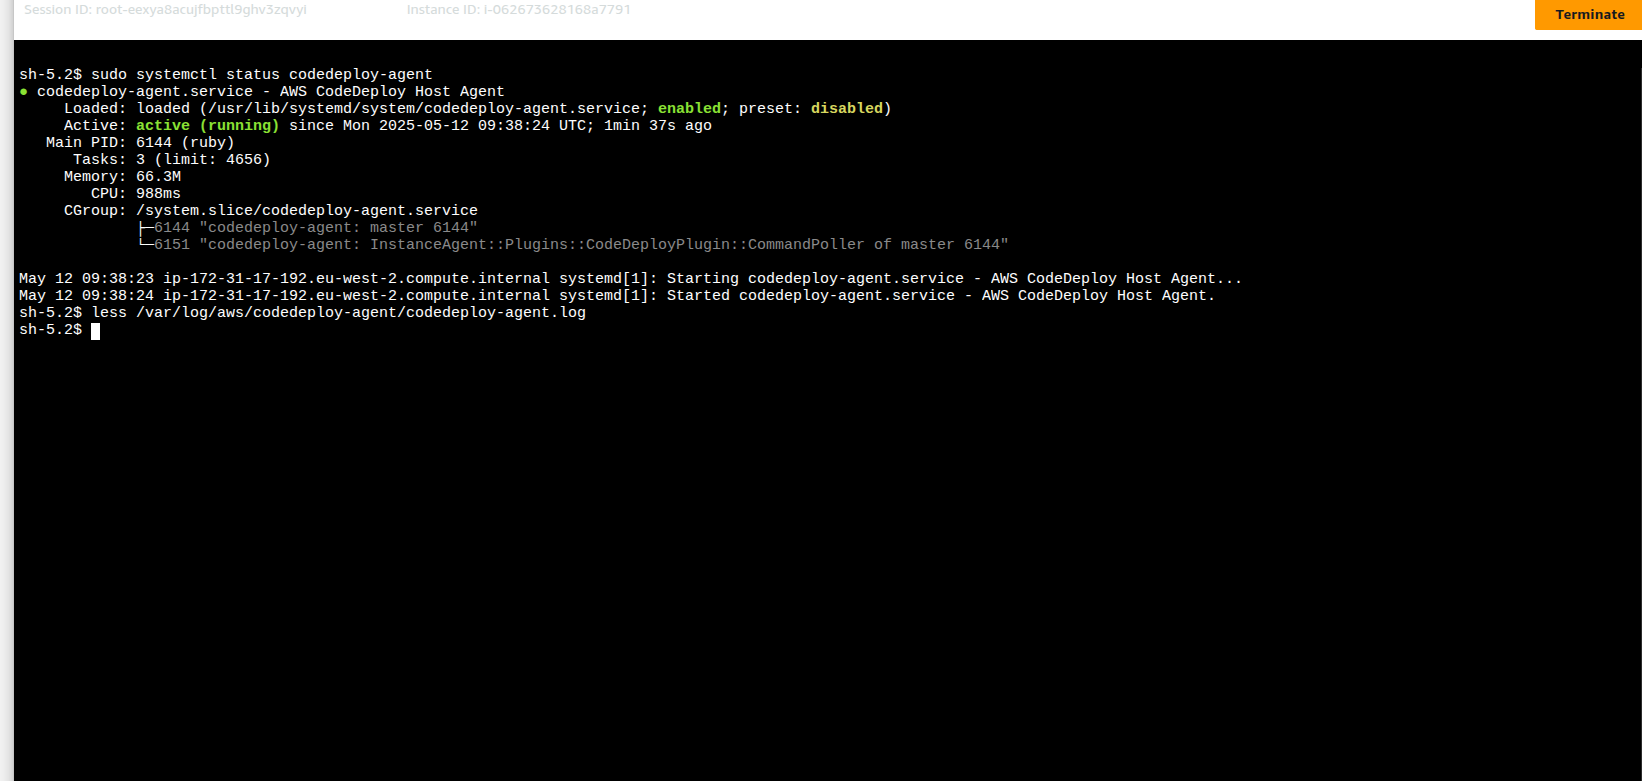
You can also view the logs at /var/log/aws/codedeploy-agent/codedeploy-agent.log. Further posts will explore how to stream logs into CloudWatch via CloudWatch agent.
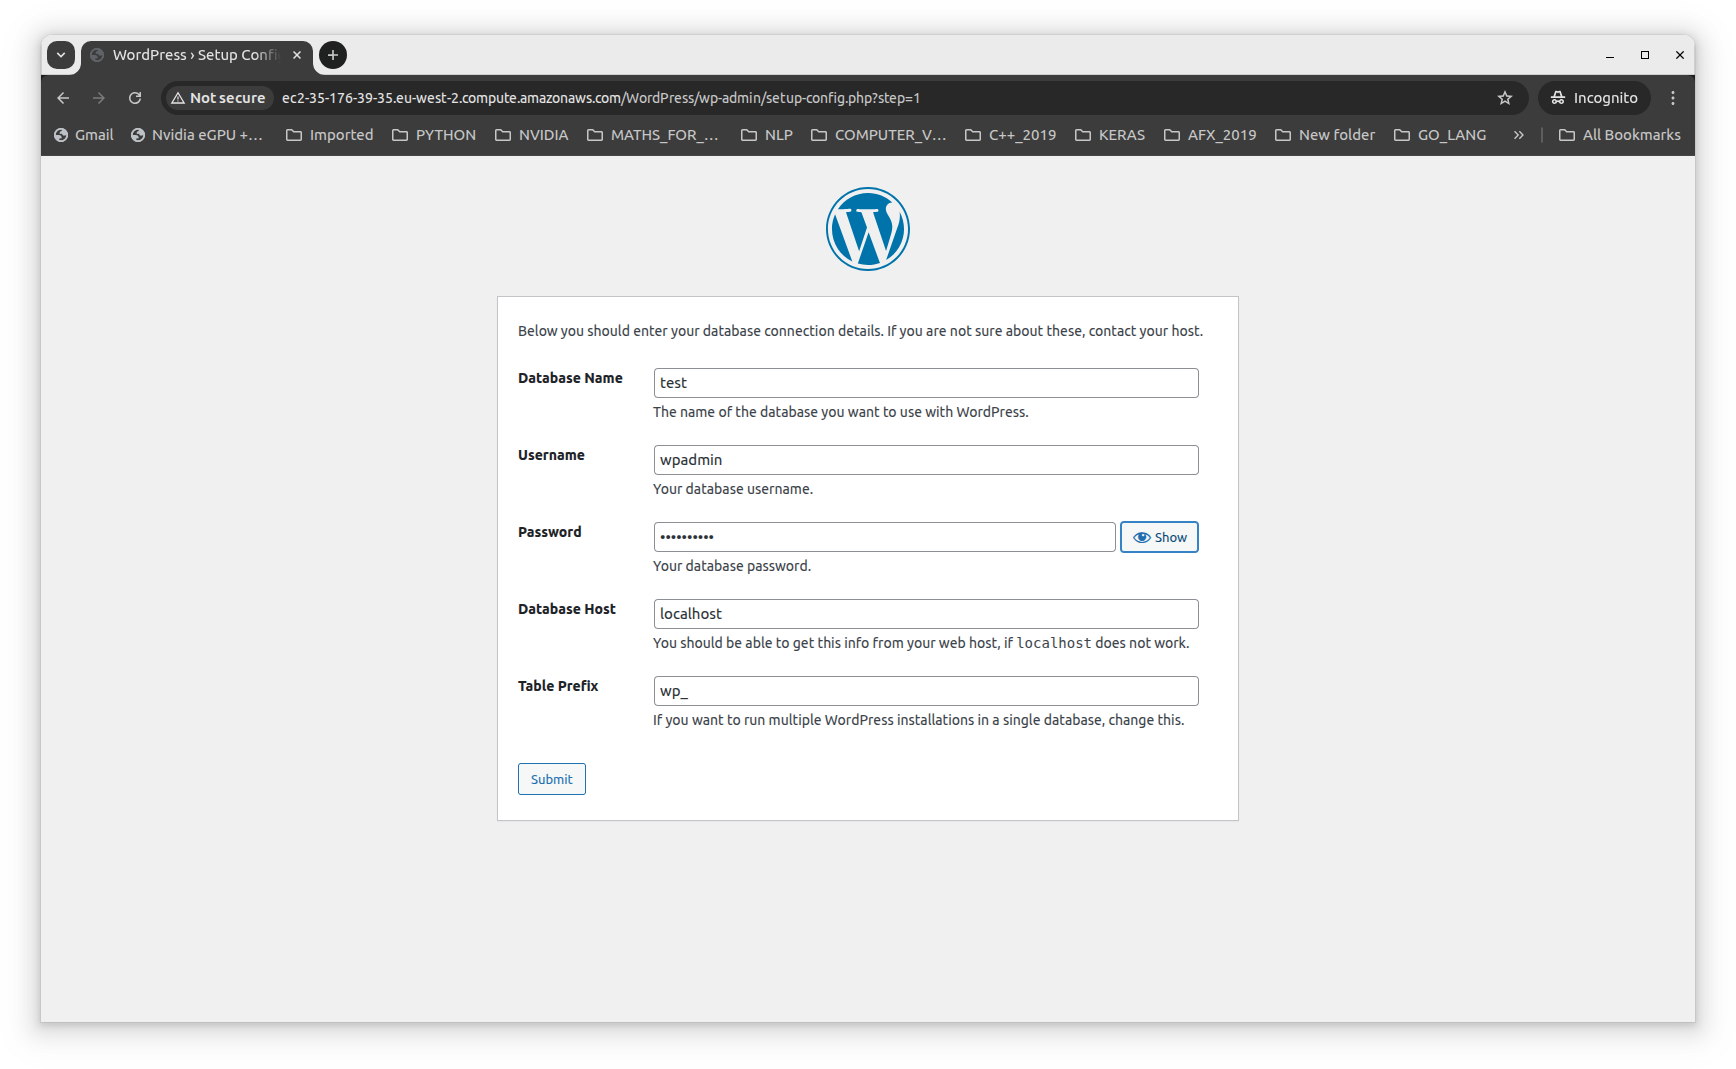
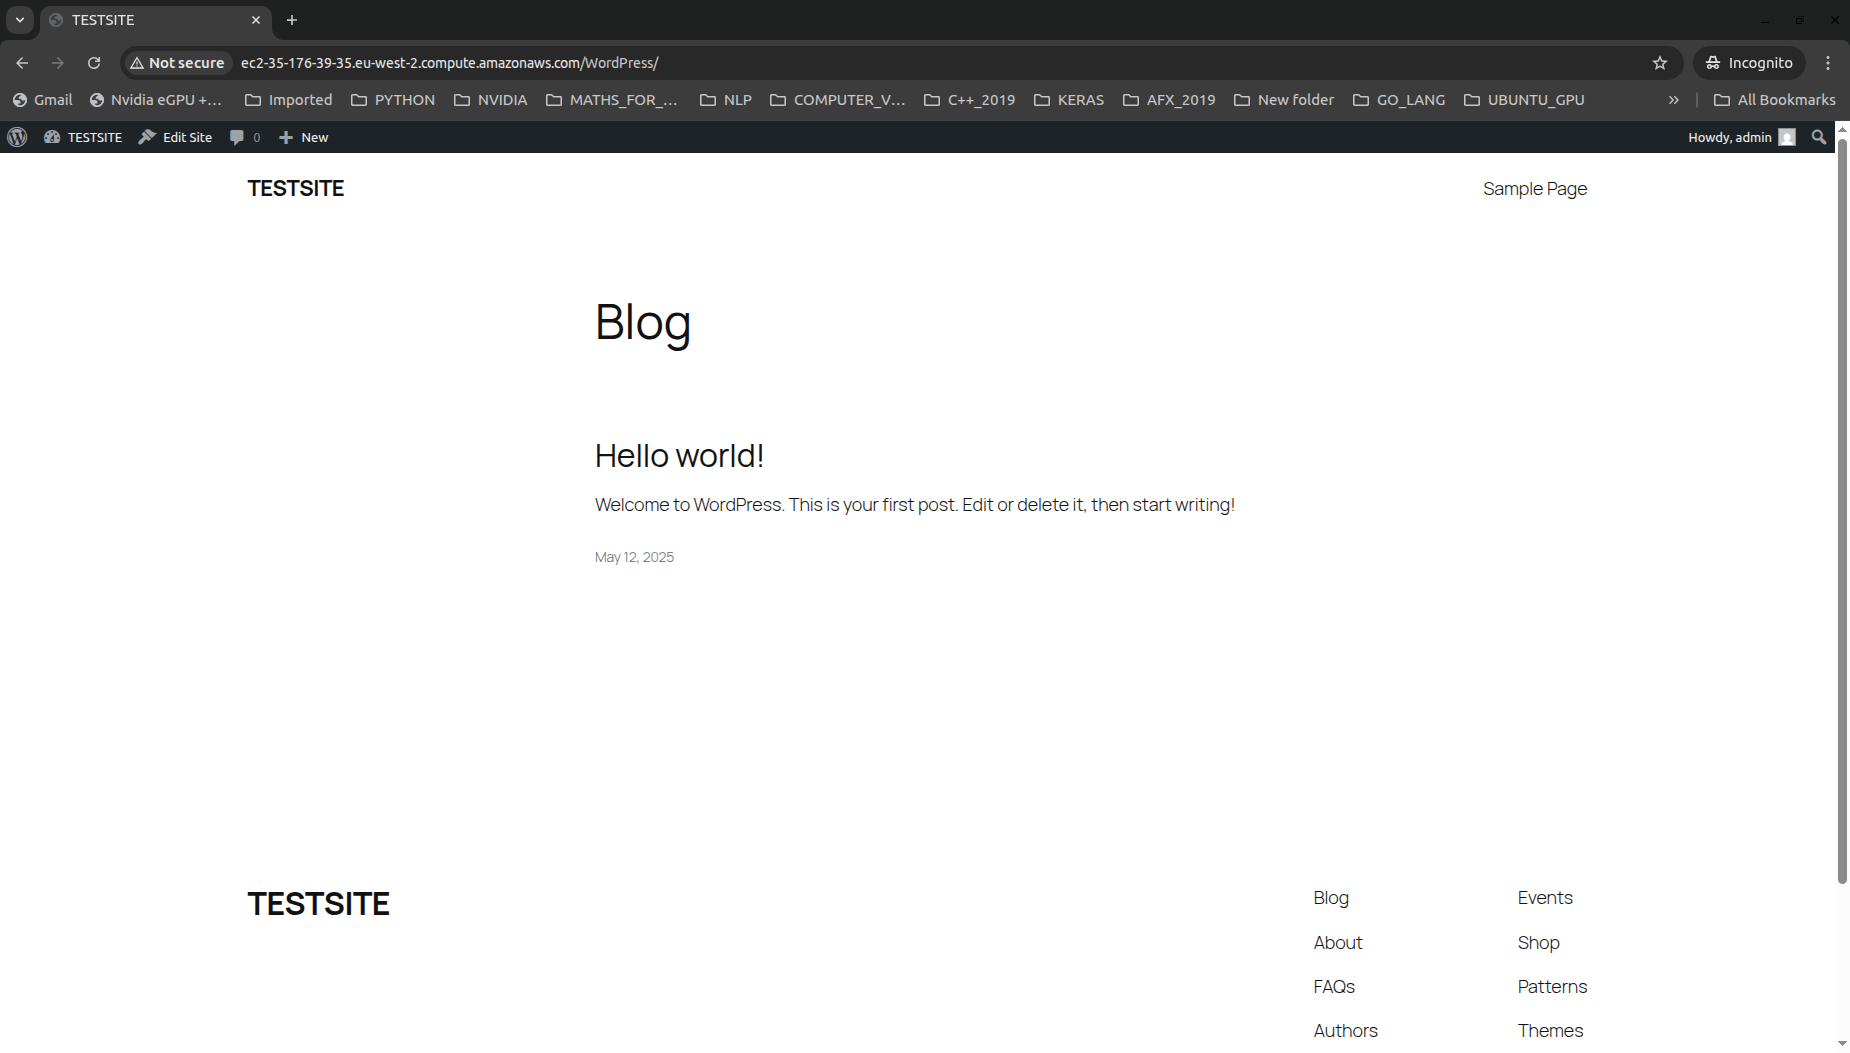
To setup the application, we can click on Release Change in the pipeline which will run the scripts and install wordpress as shown below:
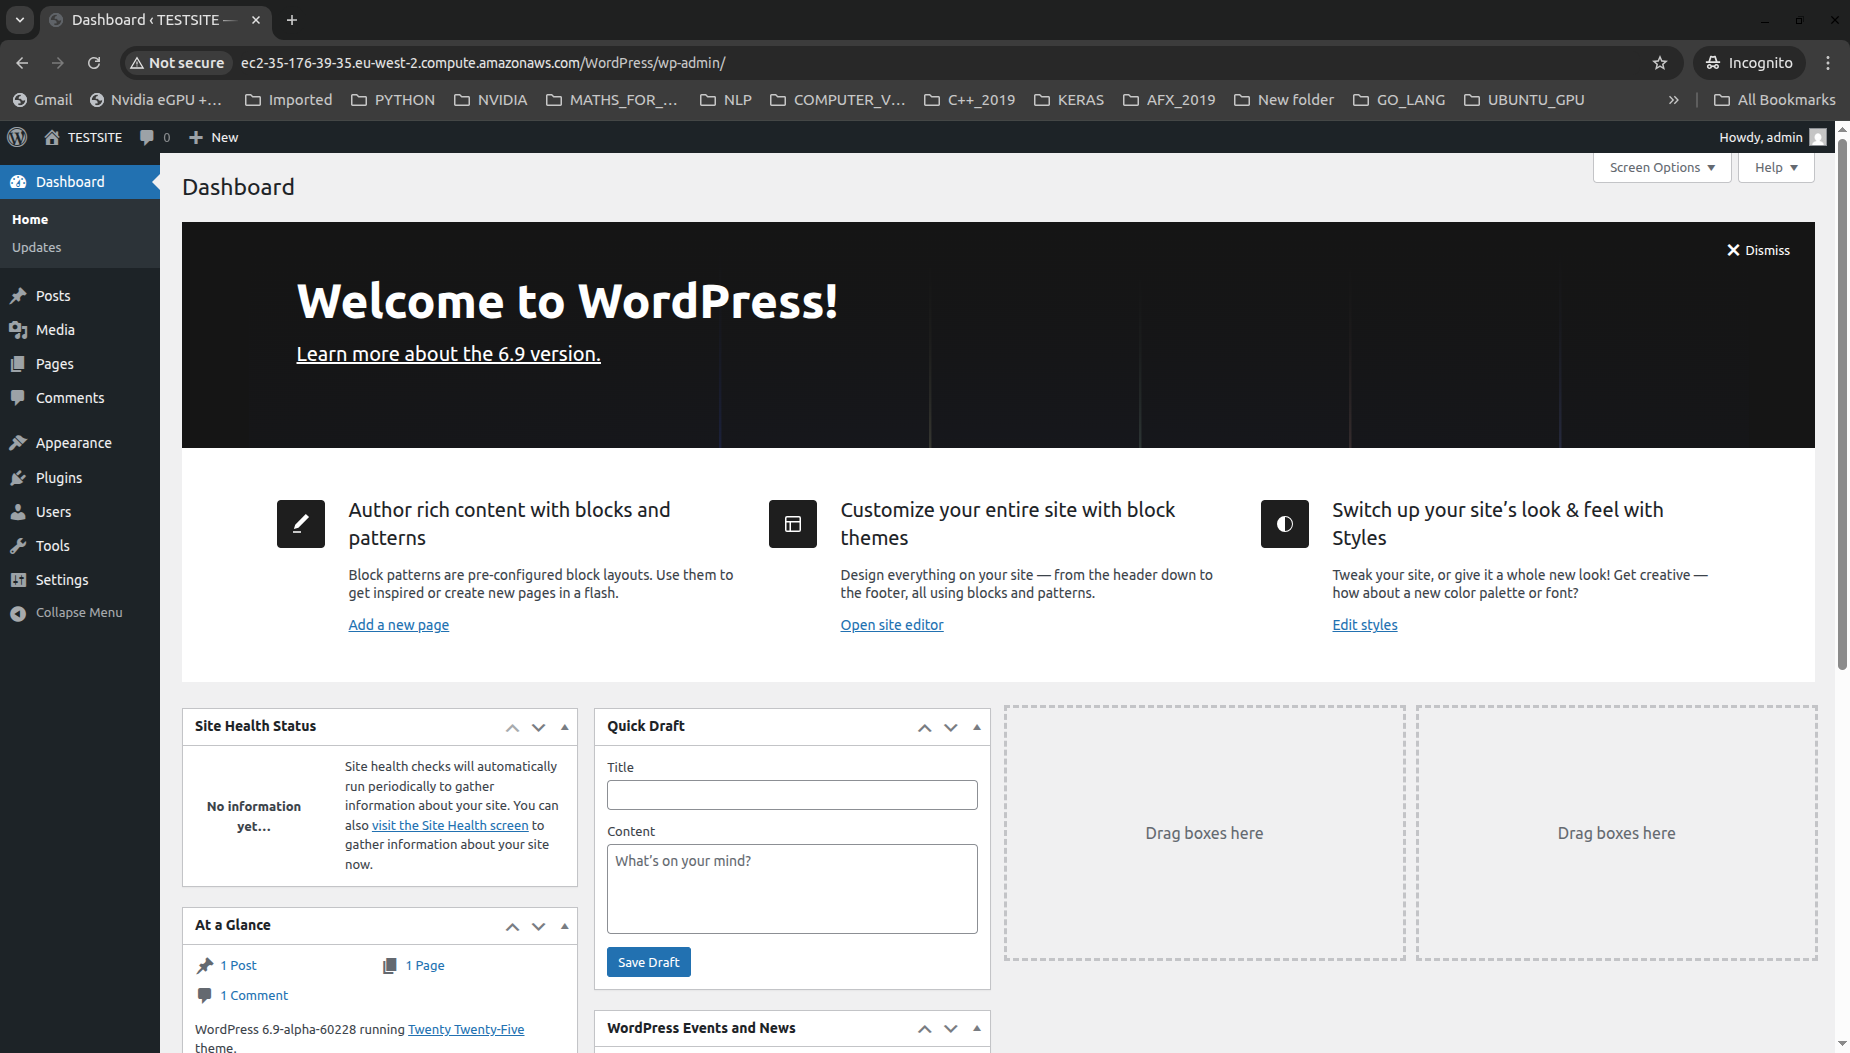
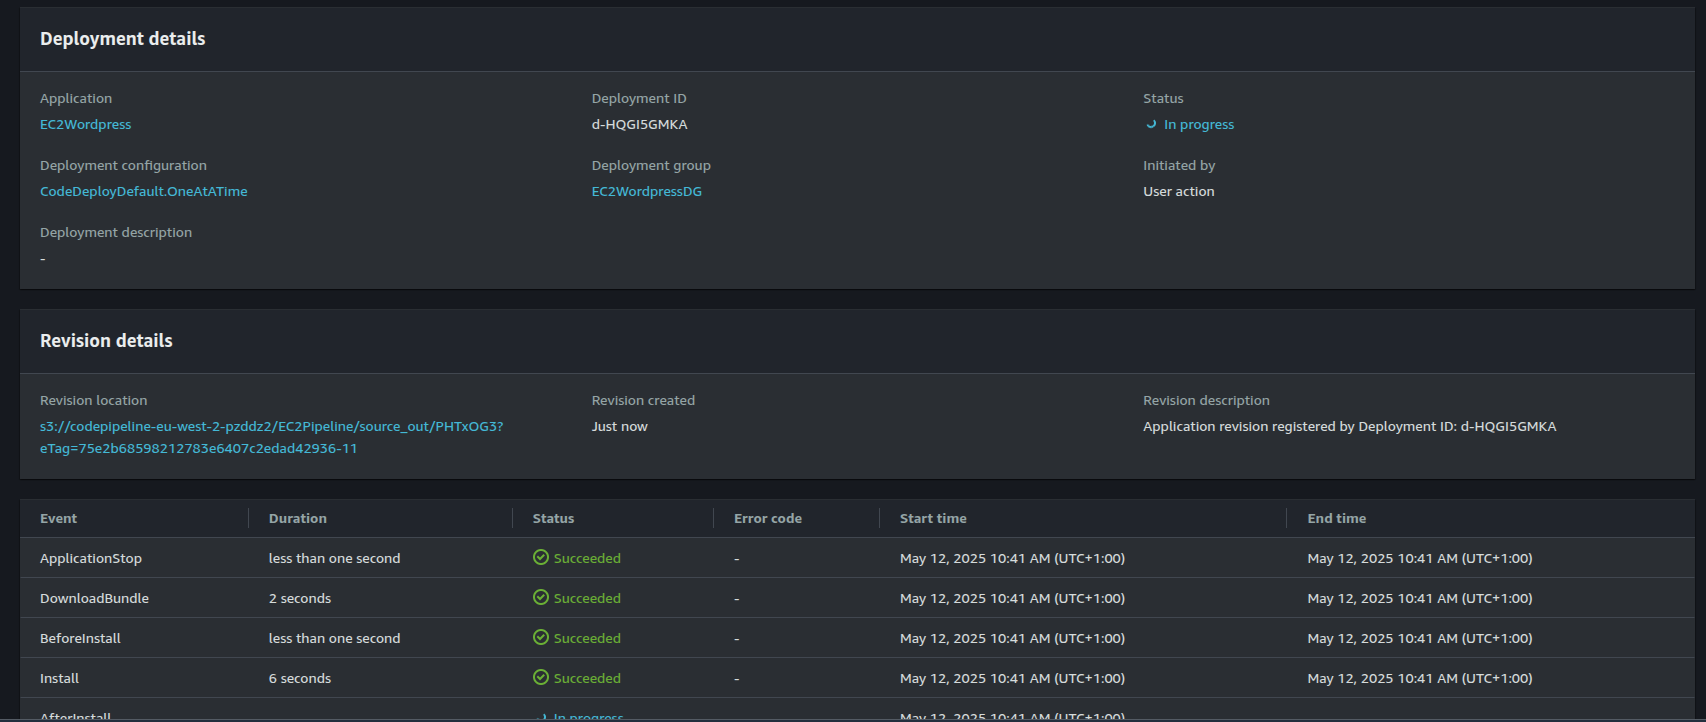
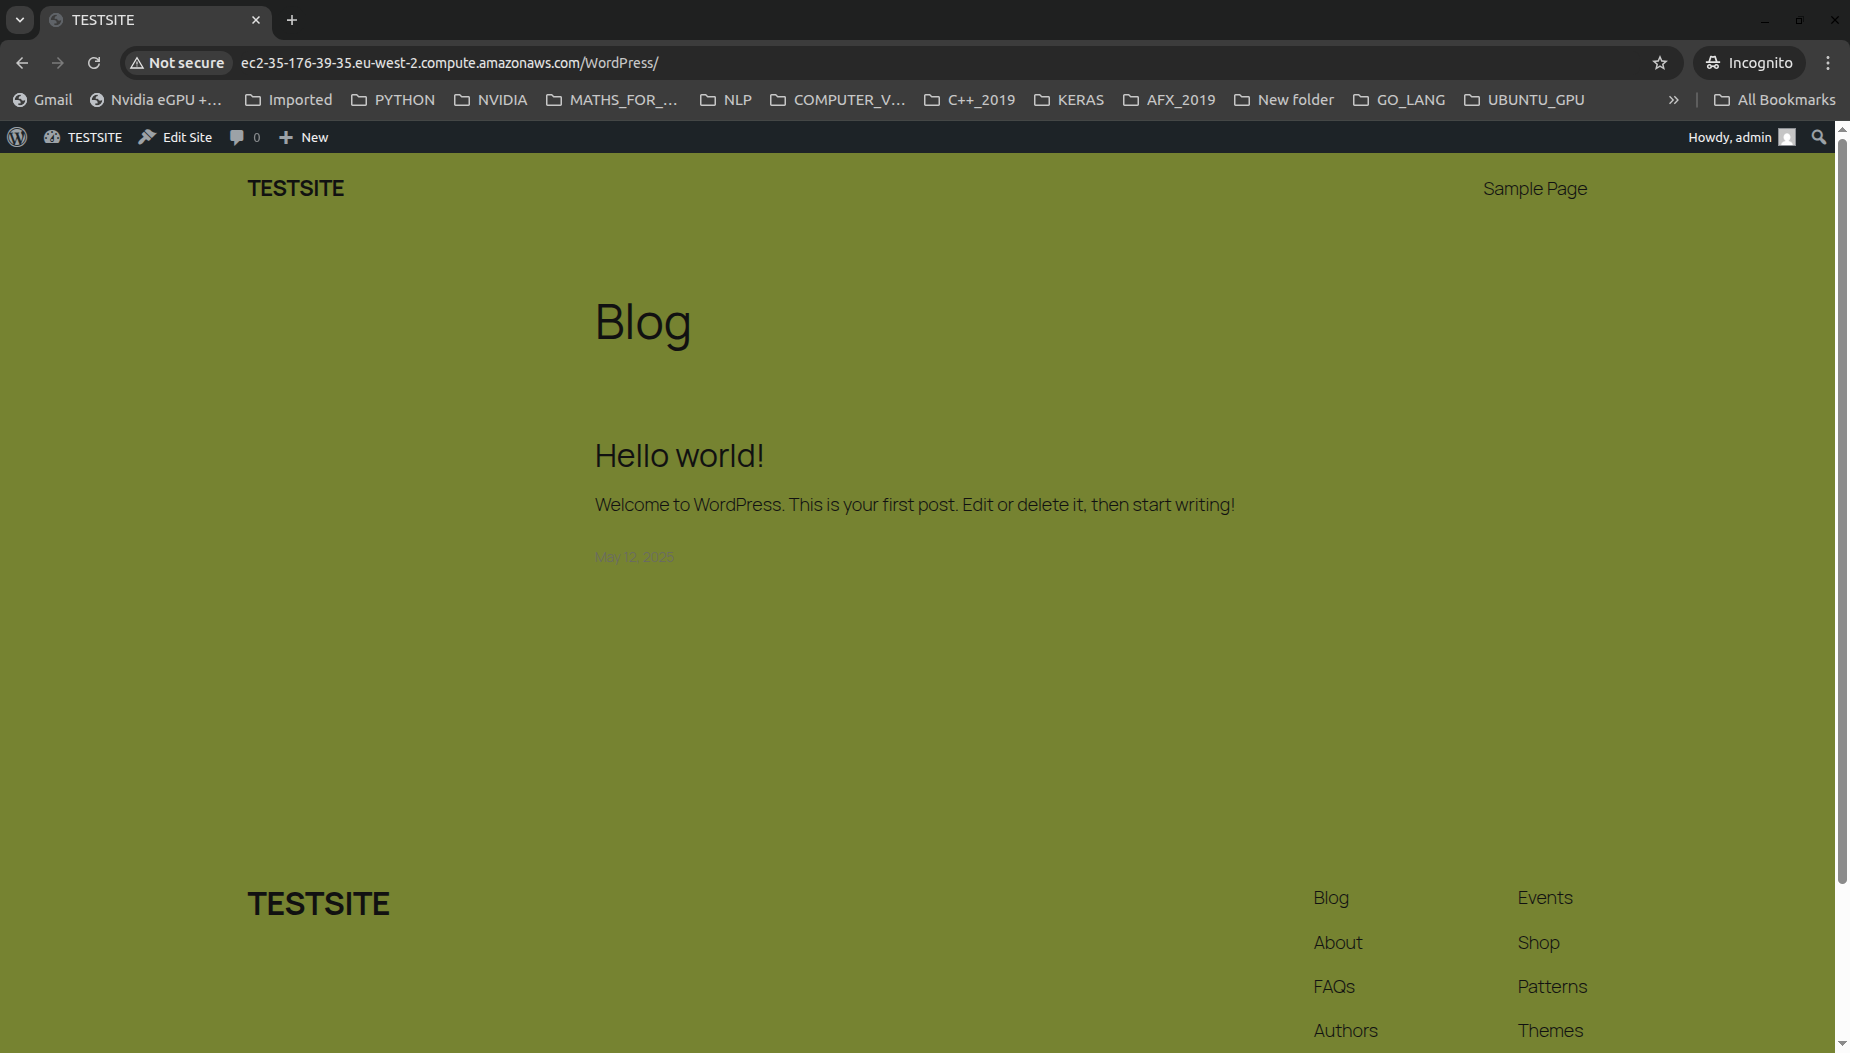
After setting up the application, we can test the pipeline by making a change to one of the Wordpress theme files to update the background colour. This should trigger a pipeline run which we can see below. We can also monitor the events in the deployment via the Deployments page:
If the deployment is successful, we should see the background change in the application:
In future posts, I hope to cover other topics such as enabling cloudwatch logs and multiple-instance deployments for EC2 via CodePipeline.