ElasticBeanstalk is a configuration as code service which allows you to develop and deploy applications into AWS cloud without having to provision the infrastructure resources manually. This could be beneficial if you need to quickly deploy your application into an ephemeral environment such as staging in order to test it in a production-like environment or it could be used for an end-to-end integration test which could be done manually by QA users.
When you deploy an Elasticbeanstalk application, AWS creates a CloudFormation stack of the resources required automatically and deploys it to create the infrastructure. Since we are developing a web application in python Flask web framework, we would require a database. This could be provisioned by Elasticbeanstalk in 2 ways:
- Create the database as part of the deployment. This could be as simple as running the CLI with the database options enabled or in the console. An example command using the Elasticbeanstalk CLI is:
eb create flask-env -db.engine mysql -db.i db.t2.microThe above command creates an environment called flask-env while provisioning an RDS database of type MySQL where db instances are of type db.t2.micro, which would allow you to use the free tier.
The downside of this approach is if you delete the environment, since the database is linked to the same Cloudformation of the environment as a resource, the database will also be deleted.
- Create the database separately and link its credentials as environment variables to the environment when its being created. This has the added advantage of not having to wait for the database provision as part of the deployment but also being able to manage the database using another IAC tool such as terraform to allow for more detailed configuration and also to deprovision it when not required, saving costs.
However, there are other issues to consider with this approach:
-
Where do we store the database credentials? Does a process exist where we can automate this without having to manually update the Elasticbeanstalk config files?
-
How do we allow access for an application created in Elasticbeanstalk to an external database with its own security groups and policies?
-
How do we pass the database credentials to the application during deployment?
In a field guide from the Elasticbeanstalk documentation on Connecting to external RDS on default VPC, the guide details a manual process of setting up the RDS instance to connect to the Elasticbeanstalk application. Using the same idea, I was able to automate it using the following approaches:
-
Create a custom terraform module to create a RDS instance. Create a set of database specific input variables such as the username and password for the database.
-
Save the database credentials in SSM Parameter as type of
SecretStringswhich makes them encrypted. -
Create a custom EC2 IAM instance profile which will be used by the ASG in Elasticbeanstalk rather than the default
aws-elasticbeanstalk-ec2-role. We will attach additional policies to this custom instance profile to also allow it to access the SSM parameters above. -
Create a custom security groups for both the application load balancer and ASG. The ASG security group needs to allow inbound traffic on port 80 for the ALB security group. The ALB security group needs to allow traffic on port 80 from the public.
-
Create an ingress rule for the RDS security group which will allow traffic on port 5432 from the ASG security group to allow traffic from the EC2 instances.
Firstly, we use terraform to provision the RDS database:
resource "aws_rds_cluster" "postgresql" {
  cluster_identifier = "aurora-test"
  engine             = "aurora-postgresql"
  availability_zones = ["eu-west-2a", "eu-west-2b", "eu-west-2c"]
  database_name      = var.db_name
  master_username    = var.db_username
  # set below to true to allow DB secrets to be stored in secrets manager
  # manage_master_user_password = true
  master_password        = var.db_password
  skip_final_snapshot    = true
  vpc_security_group_ids = [aws_security_group.allow_rds.id]
}

resource "aws_rds_cluster_instance" "cluster_instances" {
  count              = 1
  identifier         = "aurora-cluster-demo-${count.index}"
  cluster_identifier = aws_rds_cluster.postgresql.id
  instance_class     = "db.t3.medium"
  engine             = aws_rds_cluster.postgresql.engine
  engine_version     = aws_rds_cluster.postgresql.engine_version
}
Noe that we are creating an Aurora database with one writer instance and the smallest type is db.t3.medium, unlike RDS.
Note that the sensitive values such as db_password will be passed in as sensitive parameters via Terraform so they will not appear in the state file.
After the database is created, we save the values as separate parameters into the Systems Manager parameter store, one for each secret:
resource "aws_ssm_parameter" "rds_username" {
  name        = "/flaskapp/flaskenv/RDS_USERNAME"
  description = "RDS Username"
  type        = "SecureString"
  value       = var.db_username

  tags = {
    environment = "flaskenv"
  }
}

resource "aws_ssm_parameter" "rds_password" {
  name        = "/flaskapp/flaskenv/RDS_PASSWORD"
  description = "RDS Password"
  type        = "SecureString"
  value       = var.db_password

  tags = {
    environment = "flaskenv"
  }
}

resource "aws_ssm_parameter" "rds_dbname" {
  name        = "/flaskapp/flaskenv/RDS_DB_NAME"
  description = "RDS DB NAME"
  type        = "SecureString"
  value       = var.db_name

  tags = {
    environment = "flaskenv"
  }
}

resource "aws_ssm_parameter" "rds_hostname" {
  name        = "/flaskapp/flaskenv/RDS_HOSTNAME"
  description = "RDS Hostname"
  type        = "SecureString"
  value       = aws_rds_cluster_instance.cluster_instances[0].endpoint

  tags = {
    environment = "flaskenv"
  }
}

resource "aws_ssm_parameter" "rds_port" {
  name        = "/flaskapp/flaskenv/RDS_PORT"
  description = "RDS port"
  type        = "SecureString"
  value       = 5432

  tags = {
    environment = "flaskenv"
  }
}

resource "aws_ssm_parameter" "app_secret" {
  name        = "/flaskapp/flaskenv/APP_SECRET"
  description = "App secret key"
  type        = "SecureString"
  value       = var.app_secret
  tags = {
    environment = "flaskenv"
  }
}
Note that we set each parameter to be of type SecretString which means it will be encrypted using the default KMS key.
To allow the EC2 Instances created by Elasticbeanstalk to fetch these SSM parameters, we need to attach an inline policy to the instance profile used by ElasticBeanstalk to create the EC2 instances. We can use the default instance profile but it would mean all the other environments will also have access to the secrets, which may not be the intention. A better approach is to create a separate IAM role and instance profile and associate it with the environment during creation:
# Create custom IAM Instance profile for the ElasticBeanstalk EC2 instances
resource "aws_iam_role" "eb_instance_role" {
  name = "CustomElasticBeanstalkEC2Role"
  assume_role_policy = jsonencode({
    Version = "2012-10-17"
    Statement = [
      {
        Action = "sts:AssumeRole"
        Effect = "Allow"
        Sid    = ""
        Principal = {
          Service = "ec2.amazonaws.com"
        }
      },
    ]
  })
}

# Attach SSM instance policy
data "aws_iam_policy" "ssm" {
  name = "AmazonSSMManagedInstanceCore"
}

data "aws_iam_policy" "eb1" {
  name = "AWSElasticBeanstalkMulticontainerDocker"
}

data "aws_iam_policy" "eb2" {
  name = "AWSElasticBeanstalkWebTier"
}

data "aws_iam_policy" "eb3" {
  name = "AWSElasticBeanstalkWorkerTier"
}

resource "aws_iam_role_policy_attachment" "attach1" {
  role       = aws_iam_role.eb_instance_role.name
  policy_arn = data.aws_iam_policy.ssm.arn
}

resource "aws_iam_role_policy_attachment" "attach2" {
  role       = aws_iam_role.eb_instance_role.name
  policy_arn = data.aws_iam_policy.eb1.arn
}

resource "aws_iam_role_policy_attachment" "attach3" {
  role       = aws_iam_role.eb_instance_role.name
  policy_arn = data.aws_iam_policy.eb2.arn
}

resource "aws_iam_role_policy_attachment" "attach4" {
  role       = aws_iam_role.eb_instance_role.name
  policy_arn = data.aws_iam_policy.eb3.arn
}

# Create IAM Policy for the SSM parameters
data "aws_iam_policy_document" "ssm" {
  statement {
    effect = "Allow"
    actions = [
      "ssm:GetParameter"
    ]
    resources = [
      "${aws_ssm_parameter.rds_username.arn}",
      "${aws_ssm_parameter.rds_password.arn}",
      "${aws_ssm_parameter.rds_dbname.arn}",
      "${aws_ssm_parameter.rds_hostname.arn}",
      "${aws_ssm_parameter.rds_port.arn}",
      "${aws_ssm_parameter.app_secret.arn}"
    ]
  }
}

resource "aws_iam_role_policy" "allow_ssm_read" {
  name   = "FetchSSMParameters"
  role   = aws_iam_role.eb_instance_role.name
  policy = data.aws_iam_policy_document.ssm.json
}

# Convert to EC2 Instance Profile
resource "aws_iam_instance_profile" "eb_instance_profile" {
  name = "CustomElasticBeanstalkEC2Role"
  role = aws_iam_role.eb_instance_role.name
}
As mentioned in Instance Profile Permissions, we need to create an IAM role and associate the following core policies which are required by Elasticbeanstalk:
- AWSElasticBeanstalkWebTier
- AWSElasticBeanstalkWorkerTier
- AWSElasticBeanstalkMulticontainerDocker
We also attach the AmazonSSMManagedInstanceCore to allow access via SSM to the instances for debugging purposes. The FetchSSMParameters policy allows each of the SSM parameter to be read using ssm:GetParameter permission. If a customer managed key ( CMKY ) is used for encryption, we would need to also grant KMS permissions on the key in the policy but since we are using the default key, this can be left out.
To update the configuration dynamically, Elasticbeanstalk allows you to create configuration files within a subfolder .ebextensions in the application directory.
Each of these configuration files will be parsed and applied when a create or deploy action is triggered. There are 2 main categories of settings we are using here:
-
option_settings, which are applied during the provisioning of the environment
-
container_commands, which are applied after provisioning but before any of the services start up.
The first set of option_settings will pass the SSM parameters as environment variables to the application. Note that these environment variables are only accessible by the application on startup and not visible in the shell. This is akin to setting it manually in the console UI by editing the environment’s configuration.
The template below is used by terraform to fill in the SSM parameters dynamically after creation and saving this config file as .ebextensions/secrets.config:
option_settings:
  aws:elasticbeanstalk:application:environmentsecrets:
    RDS_USERNAME: ${username}
    RDS_PASSWORD: ${password}
    RDS_DB_NAME: ${db_name}
    RDS_HOSTNAME: ${hostname}
    RDS_PORT: ${port}
    APP_SECRET: ${secret}
locals {
secrets = {
"username" = "${aws_ssm_parameter.rds_username.arn}"
"password" = "${aws_ssm_parameter.rds_password.arn}"
"db_name" = "${aws_ssm_parameter.rds_dbname.arn}"
"hostname" = "${aws_ssm_parameter.rds_hostname.arn}"
"port" = "${aws_ssm_parameter.rds_port.arn}"
"secret" = "${aws_ssm_parameter.app_secret.arn}"
}
}
resource "local_file" "create_secrets" {
content = templatefile("templates/secrets.tpl", local.secrets)
filename = "${path.module}/../.ebextensions/secrets.config"
}In order to use the custom IAM instance profile, we would need to set it in the configuration file and also set DisableDefaultEC2SecurityGroup: true. The downside is we would also need to create a custom security group for the application load balancer else the deployment will fail with an error.
As discussed previously, the load balancer SG only needs to allow traffic on port 80:
# Security group to replace default EB created for ELB
resource "aws_security_group" "eb_replace_elb" {
  name        = "custom_eb_elb"
  description = "Custom SG to replace ELB SG created by EB"
  vpc_id      = data.aws_vpc.default.id
}

resource "aws_vpc_security_group_ingress_rule" "elb_inbound" {
  security_group_id = aws_security_group.eb_replace_elb.id
  from_port         = 80
  to_port           = 80
  ip_protocol       = "tcp"
  cidr_ipv4         = "0.0.0.0/0"
}

resource "aws_vpc_security_group_egress_rule" "elb_outbound" {
  security_group_id = aws_security_group.eb_replace_elb.id
  from_port         = 80
  to_port           = 80
  ip_protocol       = "tcp"
  cidr_ipv4         = "0.0.0.0/0"
}
The EC2 security group would need to allow traffic on port 80 from the load balancer SG:
# Security group to replace default EB created for EC2
resource "aws_security_group" "eb_replace_ec2" {
  name        = "custom_eb_ec2"
  description = "Custom SG to replace EC2 SG created by EB"
  vpc_id      = data.aws_vpc.default.id
}

resource "aws_vpc_security_group_ingress_rule" "ec2_inbound" {
  referenced_security_group_id = aws_security_group.eb_replace_elb.id
  security_group_id            = aws_security_group.eb_replace_ec2.id
  from_port                    = 80
  to_port                      = 80
  ip_protocol                  = "tcp"
}

resource "aws_vpc_security_group_egress_rule" "ec2_outbound" {
  security_group_id = aws_security_group.eb_replace_ec2.id
  cidr_ipv4         = "0.0.0.0/0"
  ip_protocol       = "-1"
}
We will also need to add the EC2 SG above to the RDS SG to allow traffic from the instance to RDS:
# Add the custom EC2 SG to the RDS SG
resource "aws_vpc_security_group_ingress_rule" "postgresql" {
  referenced_security_group_id = aws_security_group.eb_replace_ec2.id
  security_group_id            = aws_security_group.allow_rds.id
  from_port                    = 5432
  to_port                      = 5432
  ip_protocol                  = "tcp"
}
Finally, we can use terraform to dynamically provision the template:
option_settings:
  aws:autoscaling:launchconfiguration:
    IamInstanceProfile: ${instance_profile}
    DisableDefaultEC2SecurityGroup: true
    SecurityGroups: ${sgs}
  aws:elbv2:loadbalancer:
    ManagedSecurityGroup: ${elb_sg}
    SecurityGroups: ${elb_sg}
locals {
configuration = {
"instance_profile" = "${aws_iam_instance_profile.eb_instance_profile.name}"
"sgs" = join(", ", [
aws_security_group.eb_replace_ec2.name,
aws_security_group.allow_rds.name
])
"elb_sg" = aws_security_group.eb_replace_elb.id
}
}
resource "local_file" "create_configuration" {
content = templatefile("templates/configuration.tpl", local.configuration)
filename = "${path.module}/../.ebextensions/configuration.config"
}An example of a rendered configuration file would resemble the following:
option_settings:
  aws:autoscaling:launchconfiguration:
    IamInstanceProfile: CustomElasticBeanstalkEC2Role
    DisableDefaultEC2SecurityGroup: true
    SecurityGroups: "allow_rds, custom_eb_ec2"
  aws:elbv2:loadbalancer:
    ManagedSecurityGroup: sg-0de528dff5353b1e6
    SecurityGroups: sg-0de528dff5353b1e6
Note that for aws:autoscaling:launchconfiguration the security group values must be their names. For aws:elbv2:loadbalancer the security group values must be the IDs. This strict format is required else deployment will fail with errors.
Next, we need a set of environment variables in order for the Flask application to startup:
option_settings:
  aws:elasticbeanstalk:application:environment:
    PYTHONPATH: "/var/app/current:$PYTHONPATH"
    FLASK_APP: application.py
  aws:elasticbeanstalk:container:python:
    WSGIPath: "'application:create_app()'"
The above sets the PYTHONPATH to include the deployed application codebase. All applications deployed by Elasticbeanstalk reside in the default folder of /var/app/current on the target host. Here we append that path to the global $PYTHONPATH. We also declare the FLASK_APP environment variable to point to the application filename. Next, we define the function create_app() which resides in application.py which is needed by gunicorn to run.
The next configuration contain commands to run migration before application startup:
container_commands:
  01_migrate:
    command: "source /var/app/venv/*/bin/activate && flask db upgrade"
    leader_only: true
The application is built using Flask-Migrate library manages the database migration and schema. The above command runs the database migration command only on the leader node in an ASG to initialize and create the database schema before the application starts.
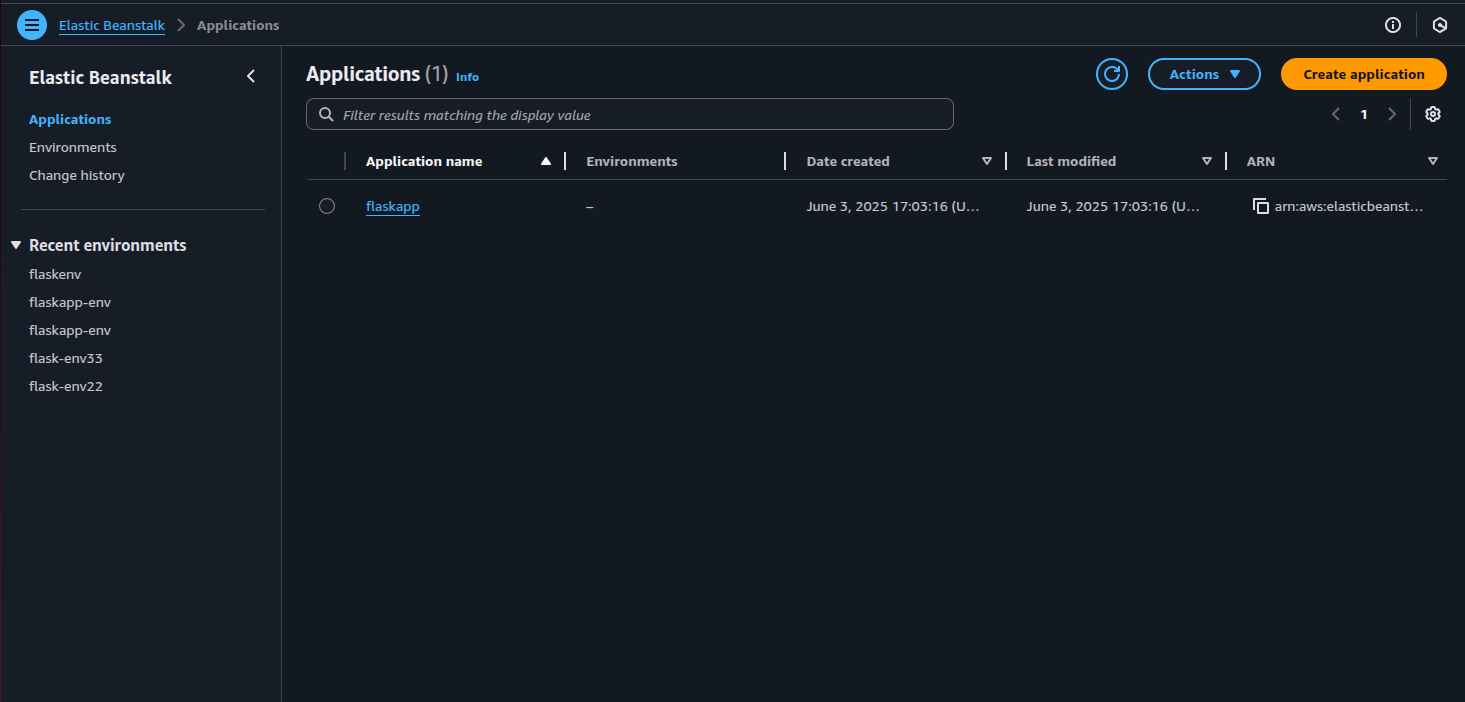
To deploy the application, we need to first create an Application and an environment resides in an application. Each environment is either a web tier or worker tier:
eb init -p python-3.12 flaskapp --profile <AWS_PROFILE> --region <AWS_REGION>
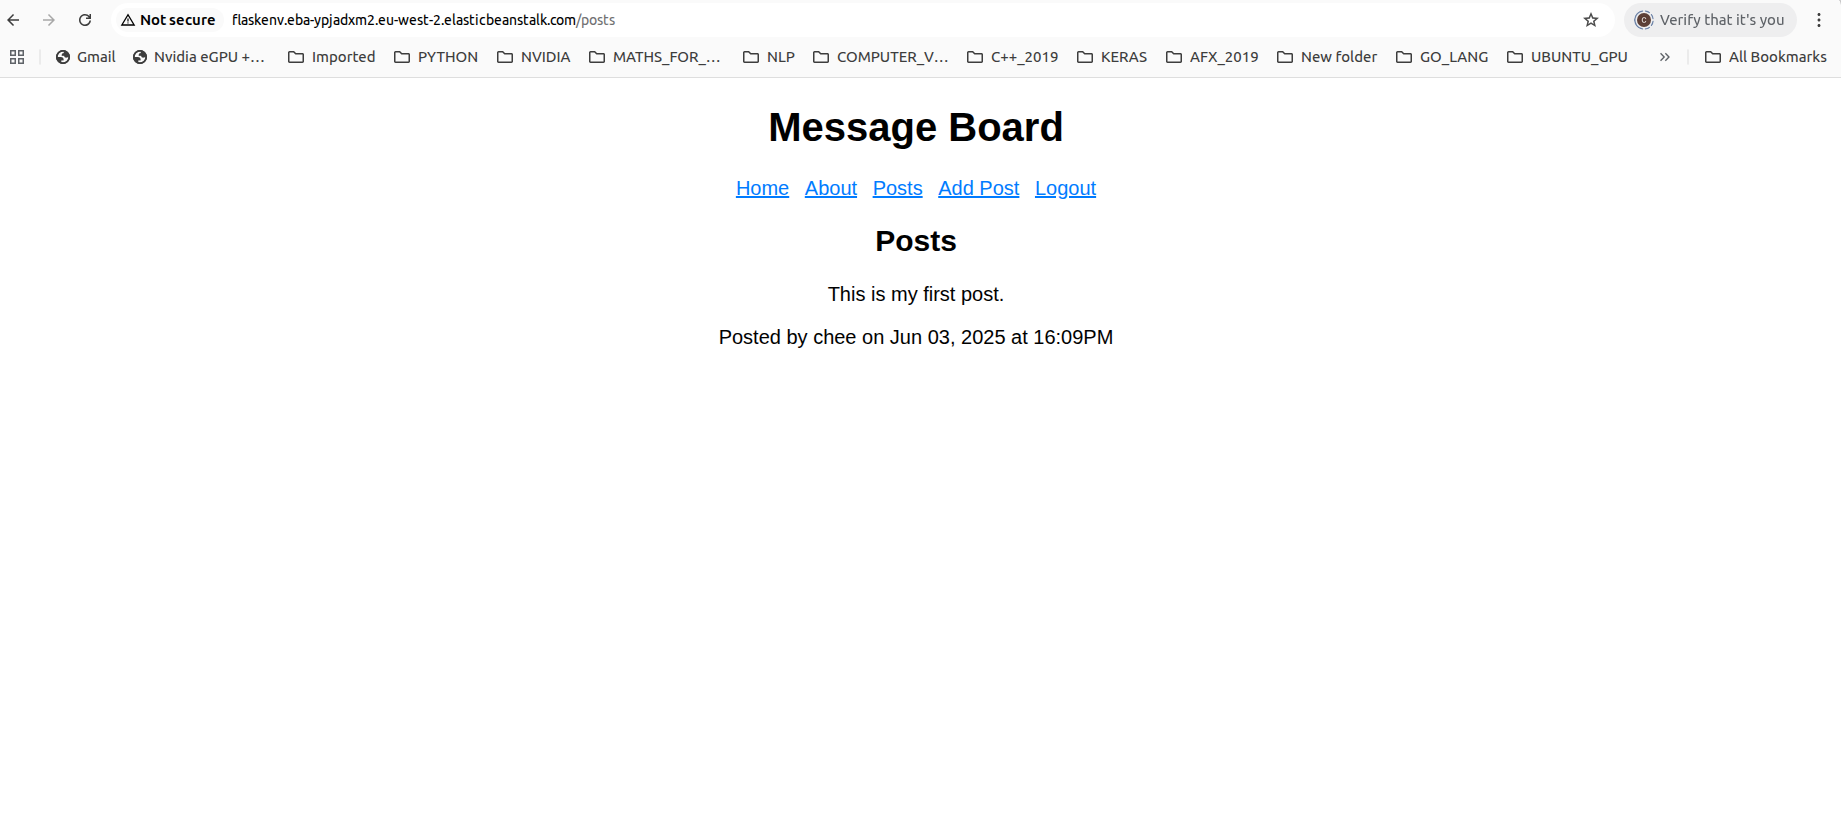
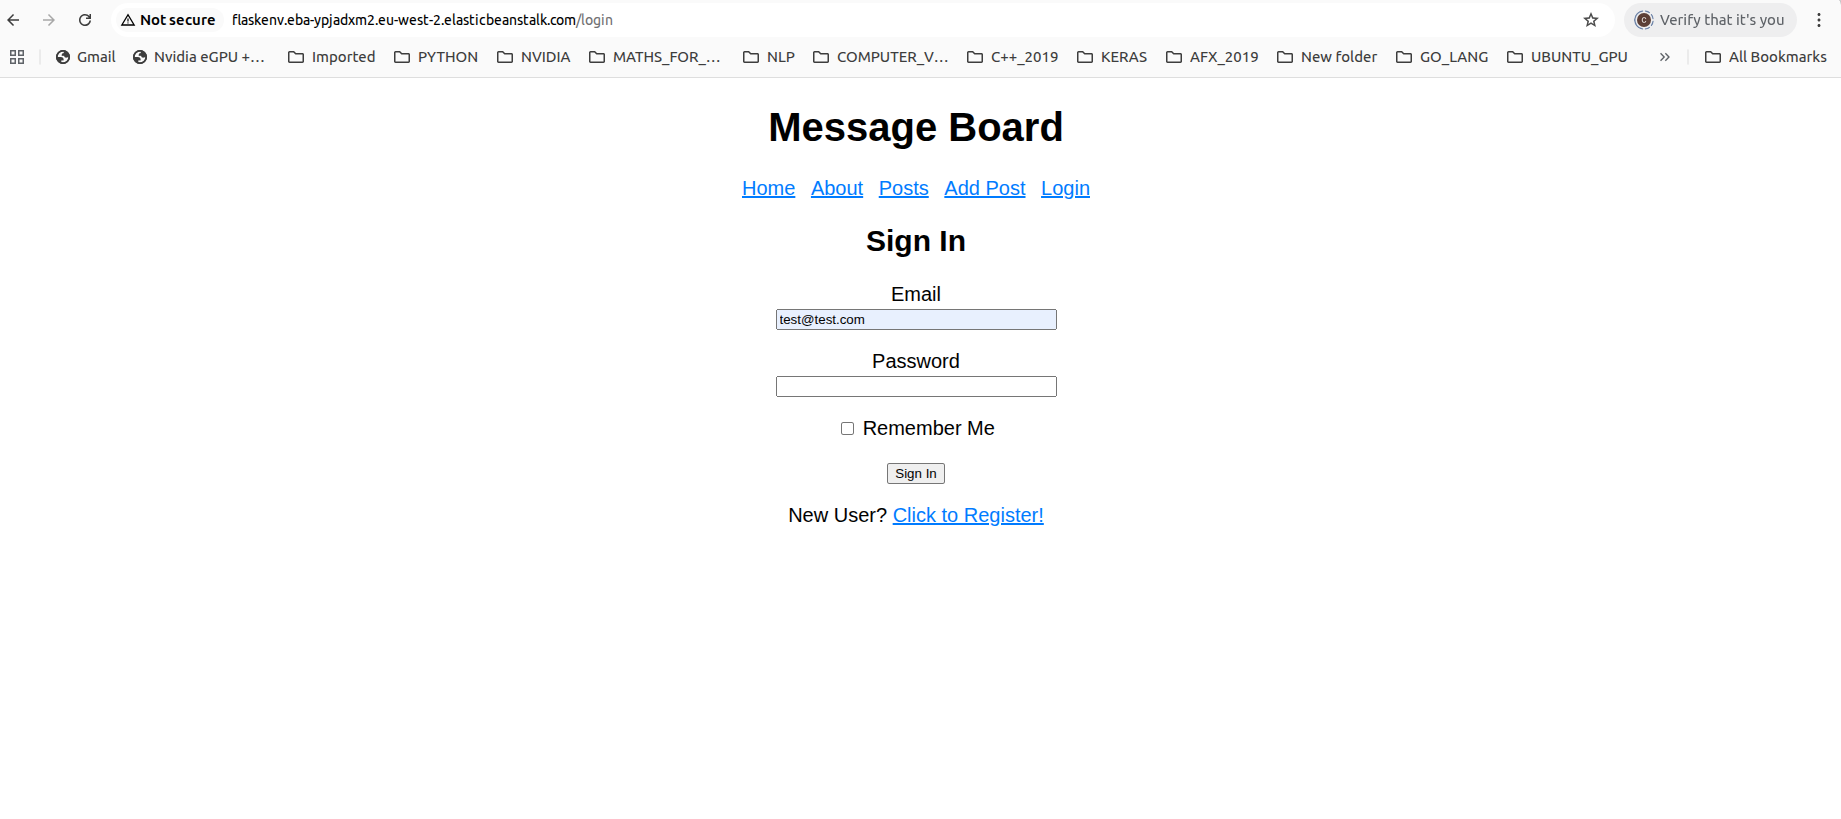
eb create flaskapp-devBelow are some screenshots of the elasticbeanstalk environment and application.
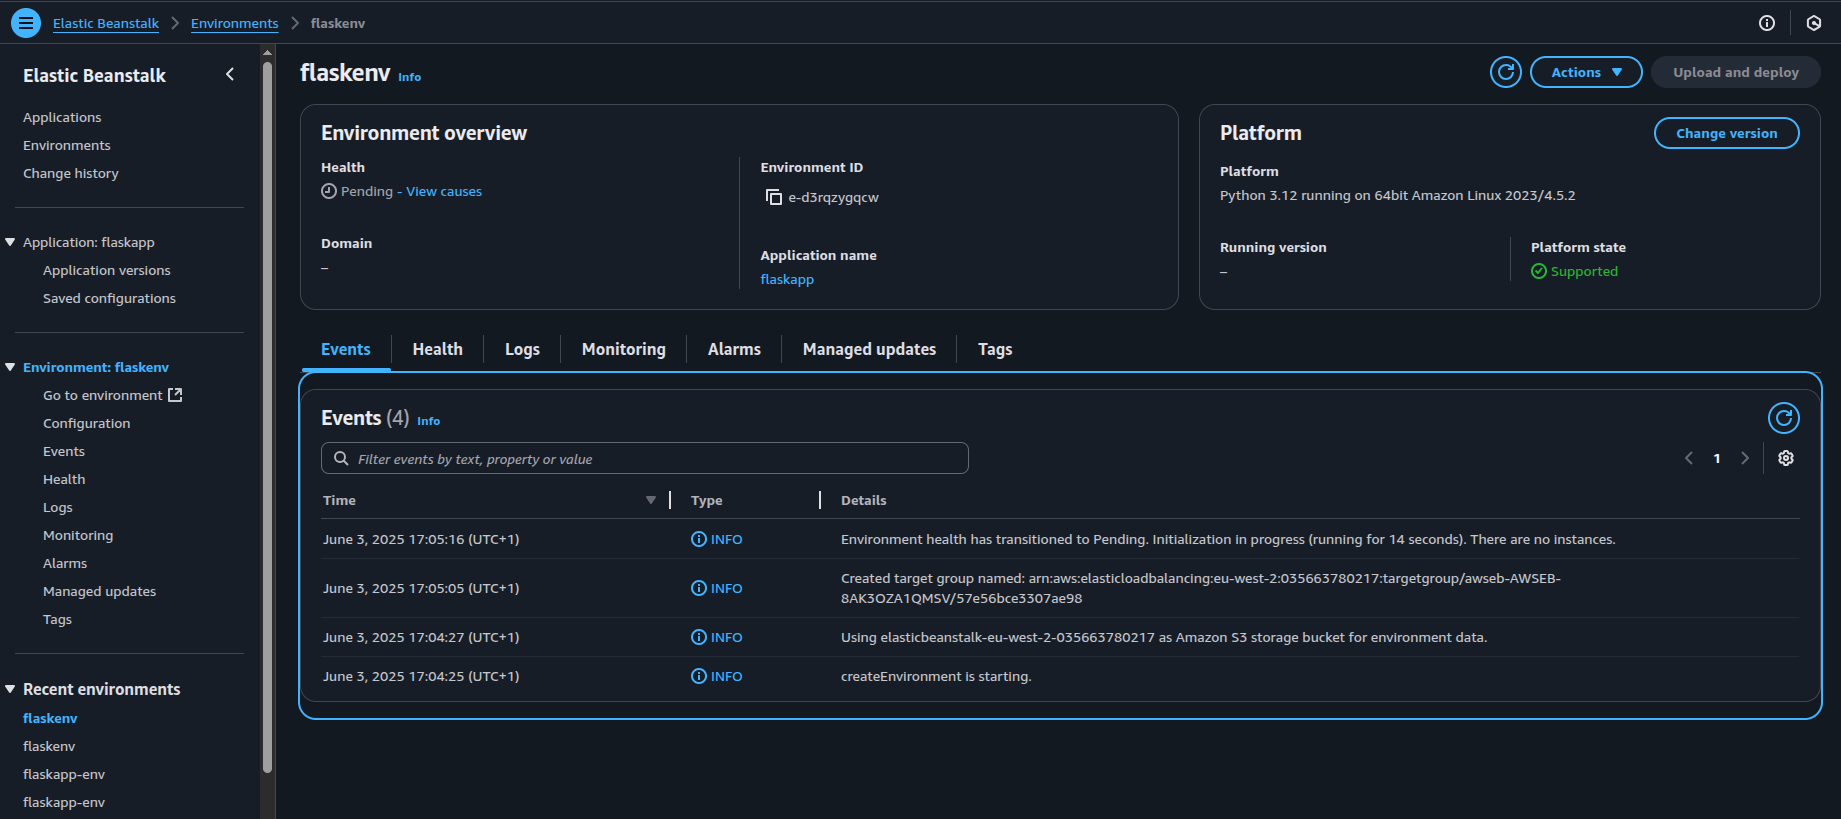
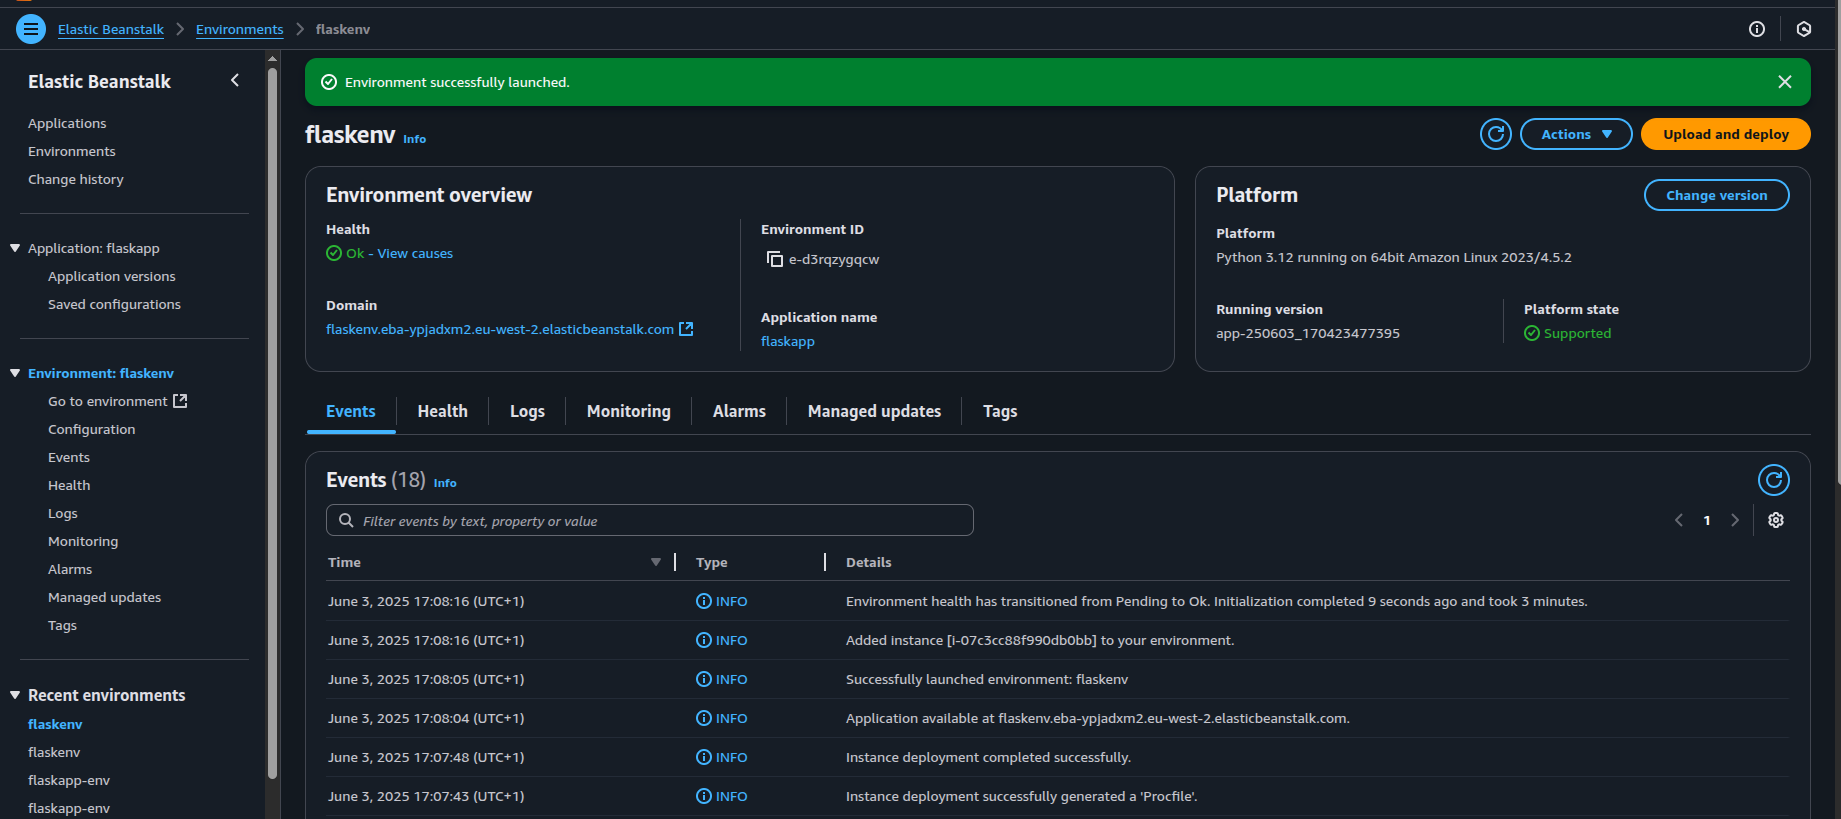
To test for new changes, you could call eb deploy afterwards to deploy the changes made into the environment for testing.
To summarize, Elasticbeanstalk provides an out-of-the-box platform for developers to test their application in AWS cloud services without having to manage the infrastructure directly. However, some knowledge in configuration management and databases are still required in order to deploy database-driven applications properly.